
Blue Velvet route, Bonés Wall, Arguís, Huesca
A las 9 de la mañana, Diego, mi padre y yo quedamos con Flor, la administradora de @pirineosadventures en Arguís, para hacer la vía Blue Velvet en la pared de Bonés.
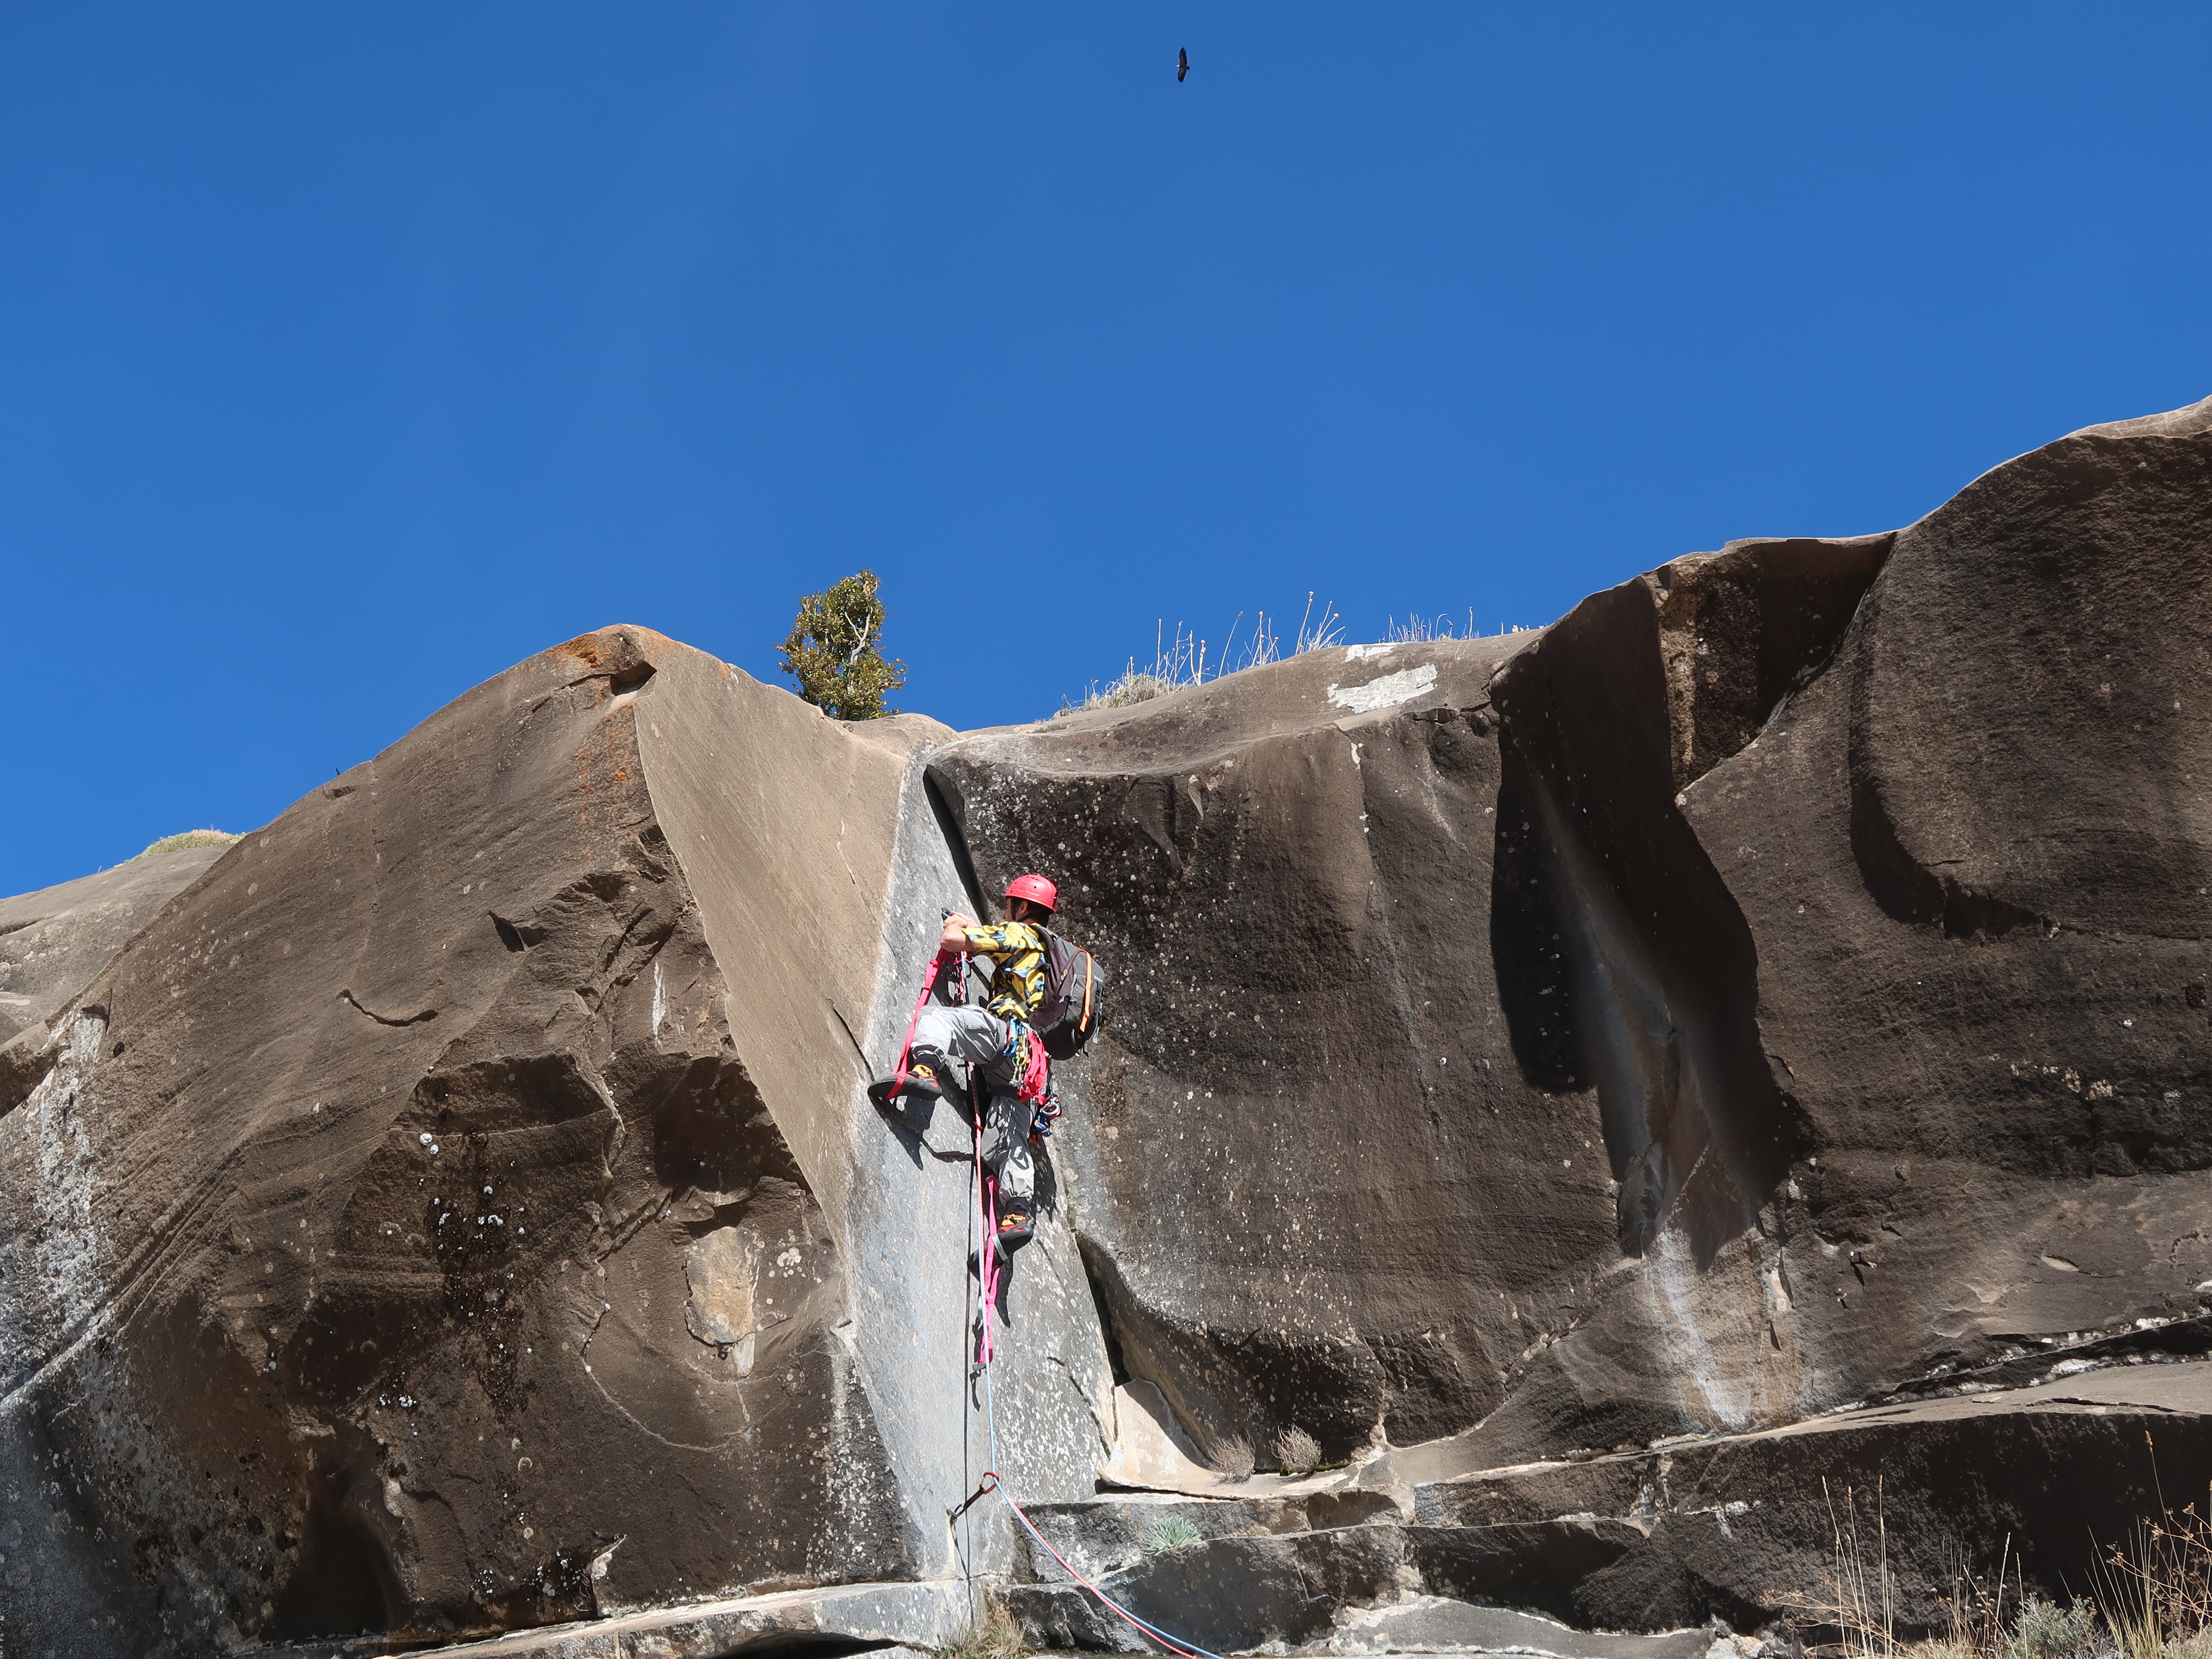
At about 9:30am, Diego, my dad and me met with Flor, the adm of @pirineosadventures in Arguís, to rock climb the route Blue Velvet, on the Bonés wall.
¿Como llegar? Desde Arguís, seguir la carretera principal y tras salir del pueblo, tomar la primera salida a la izquierda, situada en una gran curva a la derecha. Tras girar, permanecer en la carretera hasta llegar a un “silo” donde se encuentra en aparcamiento.
¿How to get there? From Arguís, follow the main road and leave the village. Take the first exit to the left, it is located in a big right bend, about 500 meters away from the village. Once in the new road, follow it until reaching a “Silo”, where the car park is located.


Aproximación: Desde el aparcamiento, seguir los mojones y flechas pintadas del sendero. En la parte de arriba, justo debajo de una pared, el sendero se bifurca, para llegar a diferentes vías, por lo que hay que tomar el sendero de la izquierda.
Access: From the car park, follow the boundary markers and arrows painted on the rock from the path. In the upper part, just below a wall, the path divides in 2, as a diversion to get to the different routes on the wall, take the one that goes to the left.
Vía / Route:

Largo 1 (55 metros, V+): Largo de placa, en ciertos puntos es algo resbaladizo, seguir la línea de parabolts que va a la derecha, ya que la otra linea pertenece a la vía “Tiza”. Reunión cómoda en una repisa
1st Pitch (55 meters, V+): Slab pitch, it gets quite slippery in some spots of the pitch, follow the line of bolts that goes right, as the another line belongs to the route “Tiza”. Quite comfortable anchor on a slab.
Largo 2 (40 metros, 6b+): Empieza en un muro con fisuras que lleva a un dihedro vertical muy difícil, nosotros usamos estribos. Hay 2 reuniones, una intermedia justo antes del dihedro y otra justo encima de este.
2nd Pitch (40 meters, 6b+): It starts on a cracked slab that leads to a very tough vertical dihedral, we had to use stirrups. There are 2 belay stations, one intermediate, just before de dihedral and the main one just above the dihedral.
Largo 3 (35 metros, IV+): Placa tumbada.
3rd Pitch (35 meters, IV+): Lied slab.
Largo 4 (25 metros, 7a/A1): El largo más difícil y expuesto. Empieza en un dihedro (6b), hay agarres, pero resbalan bastante. Tras el diedro, hay un bonito muro vertical, que lleva al punto clave de la vía. Un muro de 7a muy difícil, en el que los parabolts están colocados de manera que hay que escalar, incluso usando estribos, recomendable el uso de tramposa (Kong Panic) para este largo.
4th Pitch (35 meters, 7a/A1): The hardest and most exposed pitch of the route. It starts on a 6b dihedral, there are holds, but they are quite slippery. After the dihedral, there is a very beautiful vertical wall that leads to the “crux” of the route. A very difficult 7a wall, the bolts are set in a way that force you to climb, even using stirrups. It is advisable to have the “Kong Panic” with you for this pitch, just in case.
Descenso: Rapelando por la vía hasta su base. Son 3 rapeles.
Descent: Abseiling down on the route until reaching its base. We had to do 3 abseils.


No hay comentarios:
Publicar un comentario